Wall to Wall Strength with the Wall Mount

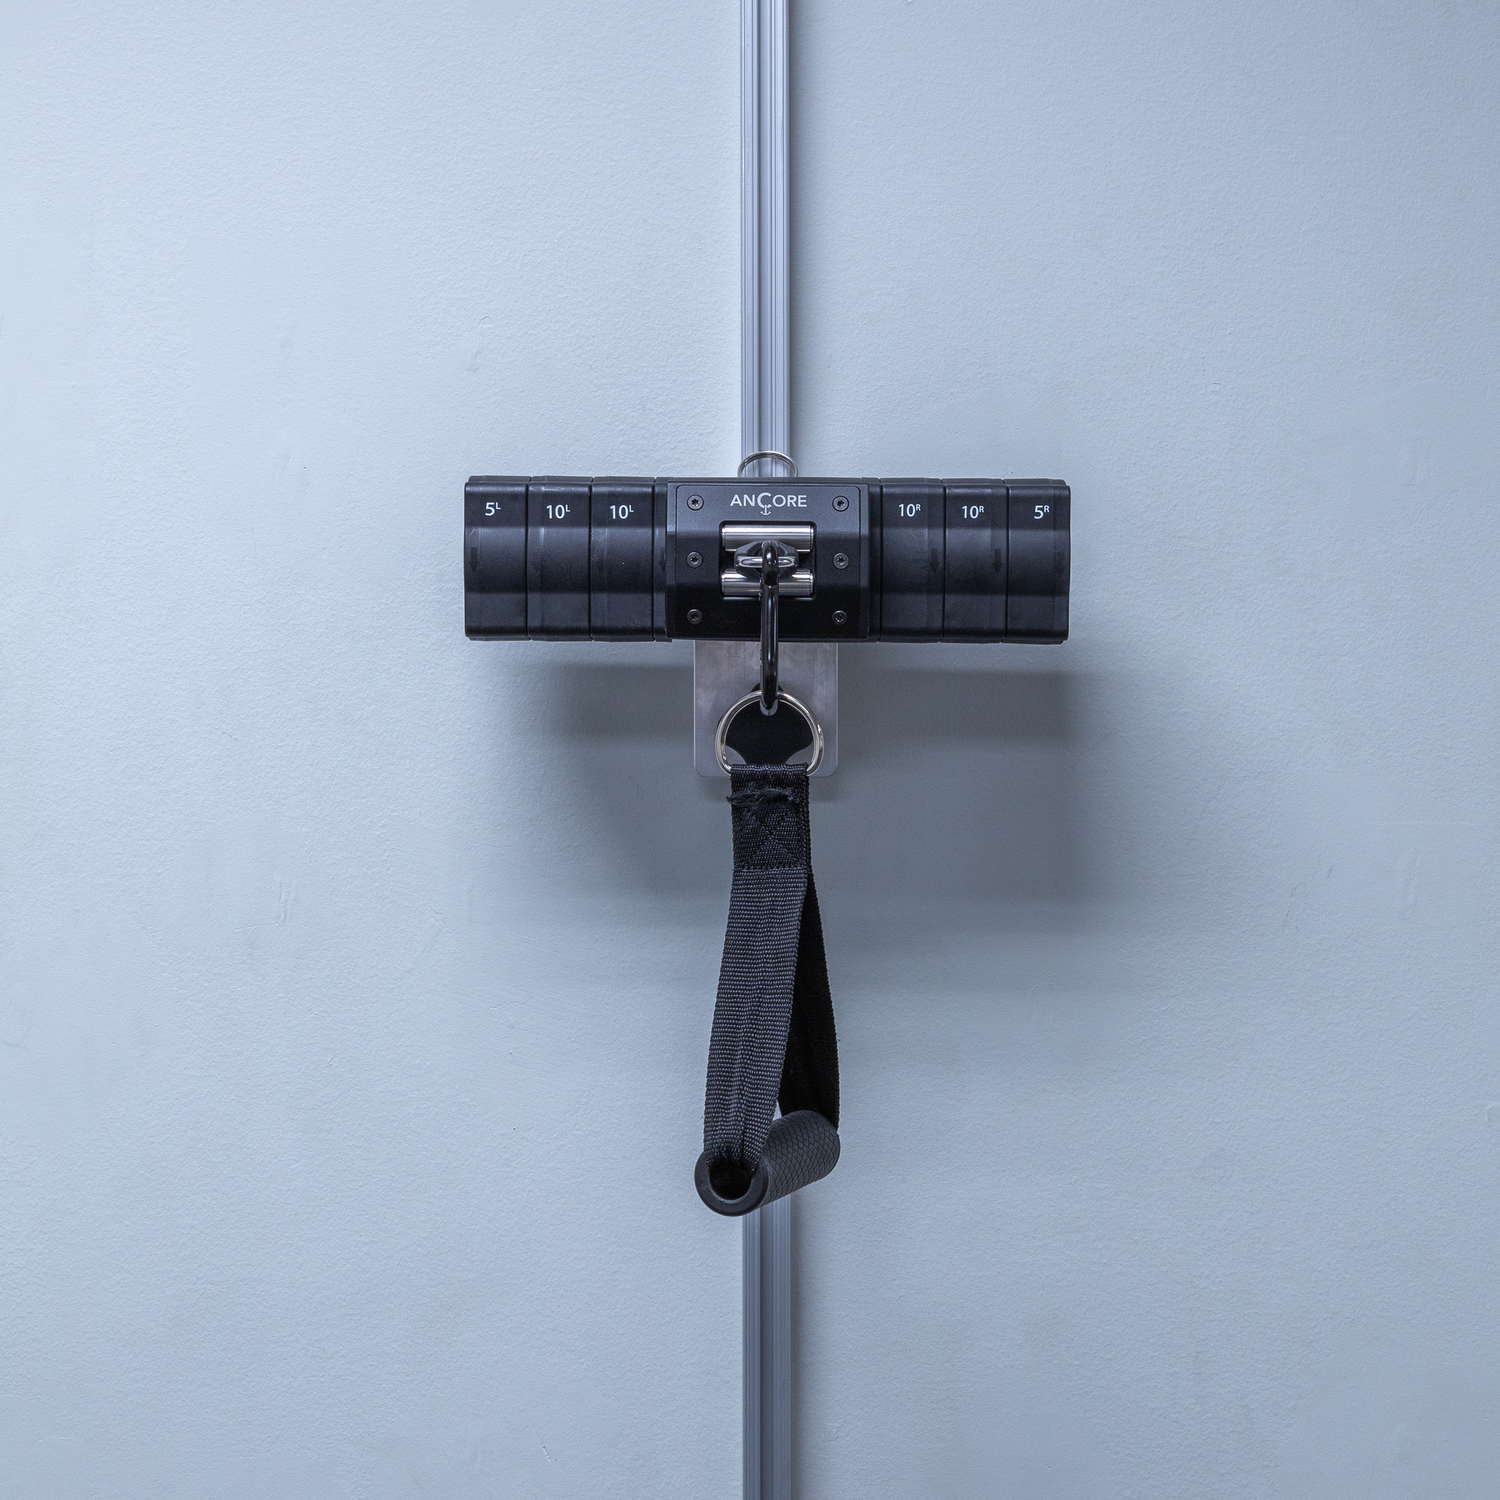
Simple in design and sleek in look, the Wall Mount has been around since some of the earliest ANCORE prototypes. While the Wall Mount, like the ANCORE, has been improved over time, the original concept of a simple, permanent mounting solution has always remained. Here's a closer look.
Designed with Aesthetics and Ease of Use in Mind
Whether it's in a large training facility or home gym, the Wall Mount's minimalist black and silver design allow it to fit in amongst other training tools without sticking out. Like all ANCORE, the Wall Mount features the universal mount interface making it compatible with all ANCORE models. Designed to be secured to a wooden stud, all the hardware to install the Wall Mount is included making the setup process as seamless as possible.

1. Use a Stud Finder to locate the center of a wooden wall stud. Mark this location lightly with a pencil.

2. Once located, screw the first Wall Mount screw into the wall at the center of the stud. Tighten the screw most of the way, leaving wiggle room for adjustment before installing the second Wall Mount screw.

3. Finally, align the Wall Mount screw vertically and screw the second Wall Mount screw into the wall stud until tight. From there, return to the top Wall Mount screw from step the previous step and tighten it fully. Make sure that the mount is fully secure before using.
Using Multiple Wall Mounts
While a single Wall Mount only allows you to train from that specific spot. A combination of Wall Mounts can provide tremendous height variability and create a training setup that is completely customized to your programming and space.


